This is the making process of "Amethyst Art Nouveau style thistle pendant".
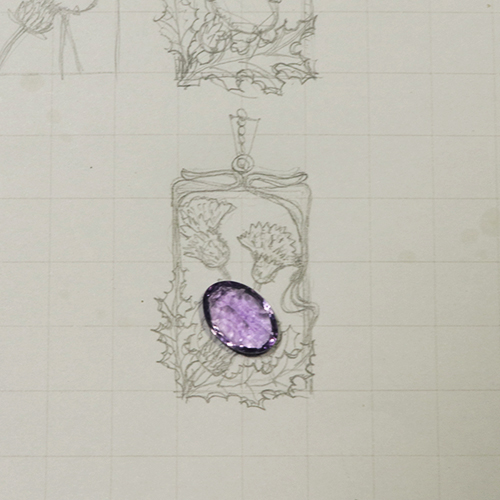
Everytime I start from drawing some rough sketches like this. they don't need to be precise because I make the piece by myself and the details often change accidentally. Of course when it's a custom order and I need to show my customer how the piece will be, I draw better sketches.
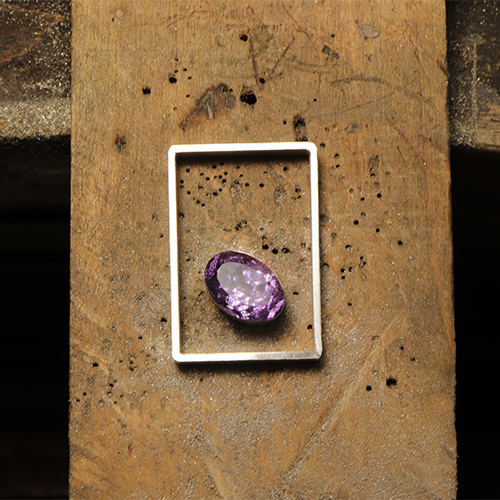
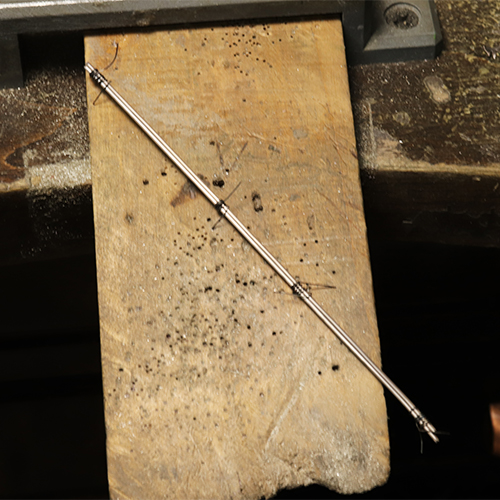
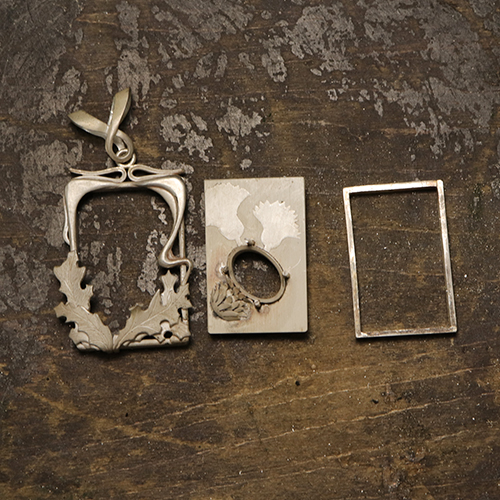
As usual I make the bezel and the fundamental frame. The reason why I make a frame is that I will insert a Keum Boo panel in it and fix it by a support frame later.
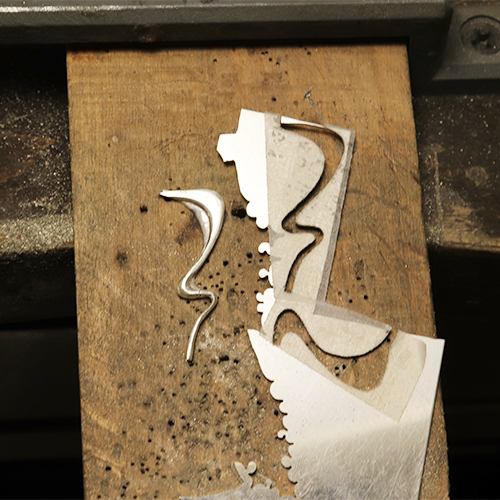
The upper Art Nouveau components are sawed out of a sterling silver sheet and soldered. They are filed and pre-polished before soldering. The smooth and round surface is important. By the way I use some tracing paper to transport the shape onto the silver sheet and fix it by film-base double face tape. Because if you glue it by water-base glue, the paper will expand and wrinkle. Paper-base tape is a bit thick and its fibers disturb the smooth sawing. I have a nice tape with a dispenser so that I can apply it easily.
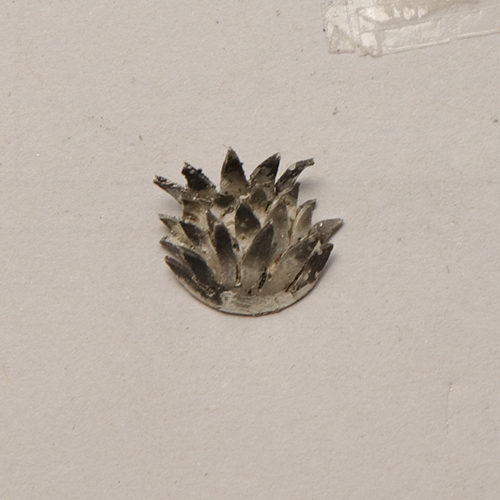
This is a close -up of the receptacle of the thistle flower. I wondered what method I should use to make it. Wax carving was the first choice. But I wanted more 3 dimensional form. So I fabricated it. It's made of 4 layers of thorns. This is a small component and will be located under the leaves. I wounder how many customer will notice the detail but I want to be particular about it.
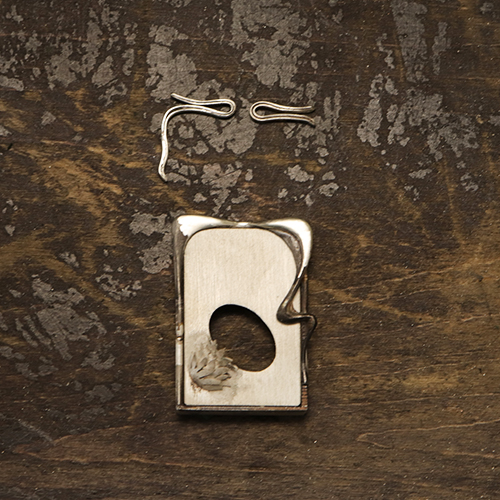
I prepare the soldering of two flat wires for the upper scrolls. I often make scrolls from a single bar but I'm into this type now. I hope the trench between them will create a subtle nuance of Art Nouveau.
The upper scrolls are done and other Two-sheet components are soldered on the frame. The receptacle is soldered of the Keum Boo panel. I just insert it in the frame to be sure if it fits. Not soldered. The hole is for the bezel. I will solder it After Keum Boo because I'm thinking to do Keum Boo on a hot plate so I need a flat base.
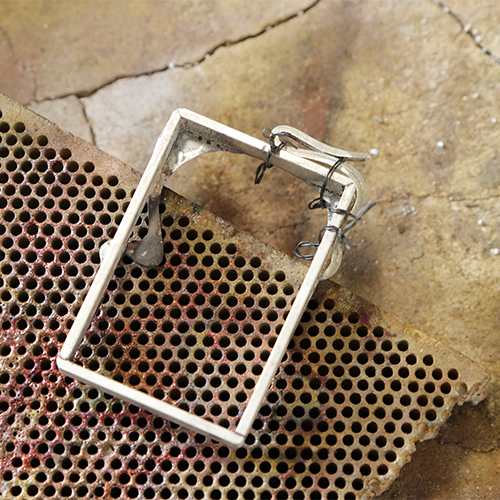
I solder the upper scroll on the frame.
I'm engraving the vines of a leaf. The leaves are sawed out of the sheet, too. After the engraving I will warp it using pliers to express a natural and like-Art-Nouveau feeling. By the way Japanese style engraving is a bit different from Western style. We "pull" the chisel using a small hammer.
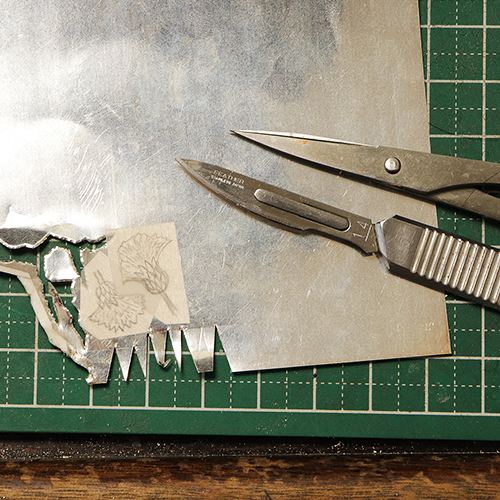
Preparing the fine silver foil for Keum Boo. This time I use a 0.08mm thick foil that is thicker than the usual ones because I want to apply a texture on it later. I usually use a keen knife or/and scissors to cut the foil
I will show you MY process of Keum Boo in detail someday.
Keum Boo is done and all solderings are done, too. The support frame is prepared. I'm going to proceed to the oxidization process.
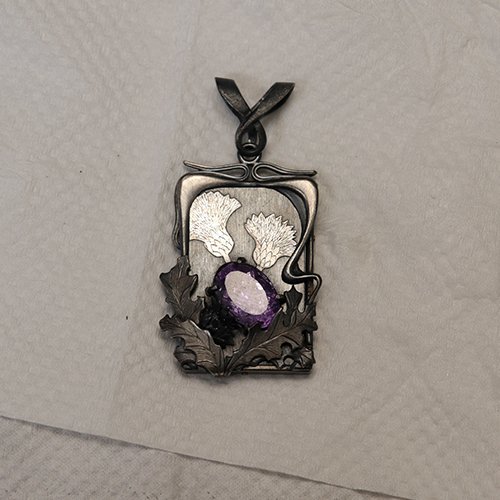
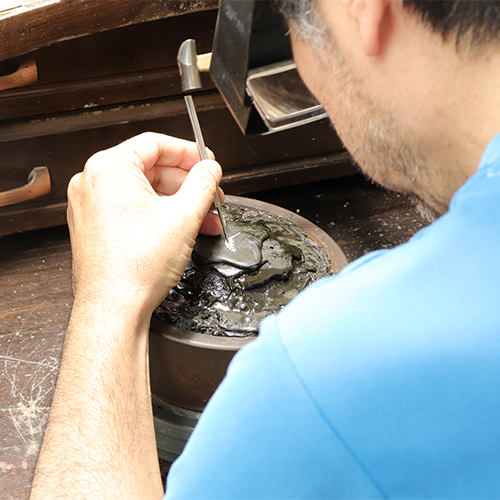
The oxidization is done. the patina is slightly and partly washed out as usual. Patina will wear out someday definitely. But I think it's not a problem. Aging creates a new beauty. But I can't wait for it. So I just simulate the aging effect.
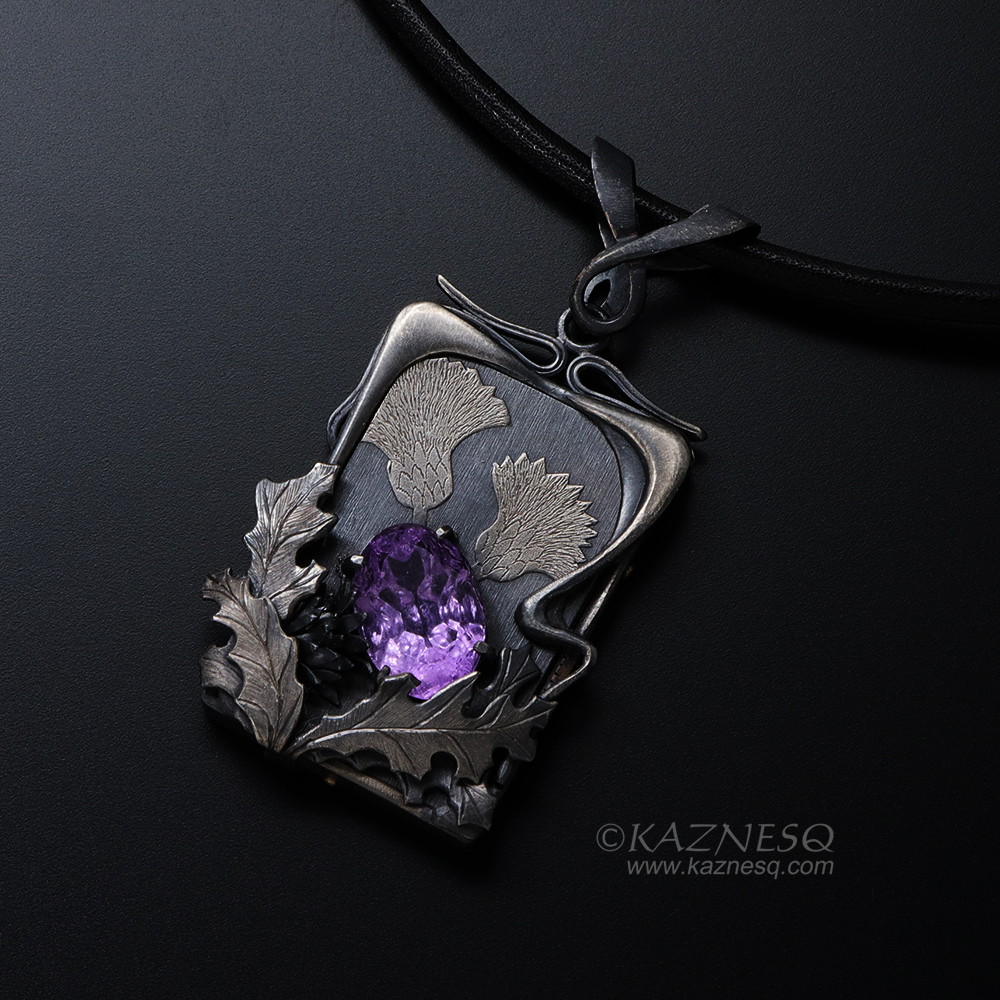
The amethyst has a special cut that shows a cluster effect. I think it's good to express a thistle flower.
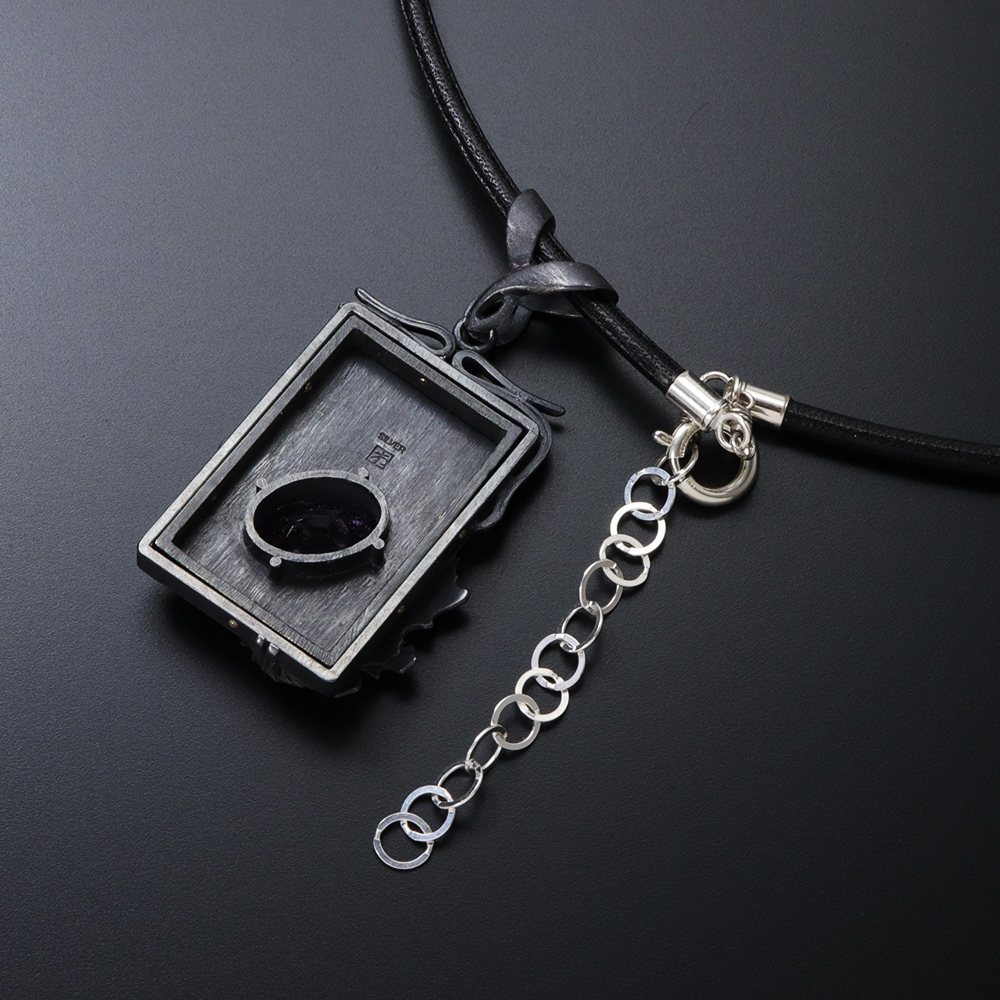
The support frame is fixed by 6 rivets. No glue is used.
Please do not forget to see my web shop.
You will find more fabulous works.